Showing posts with label cheese. Show all posts

Wednesday, July 1, 2015

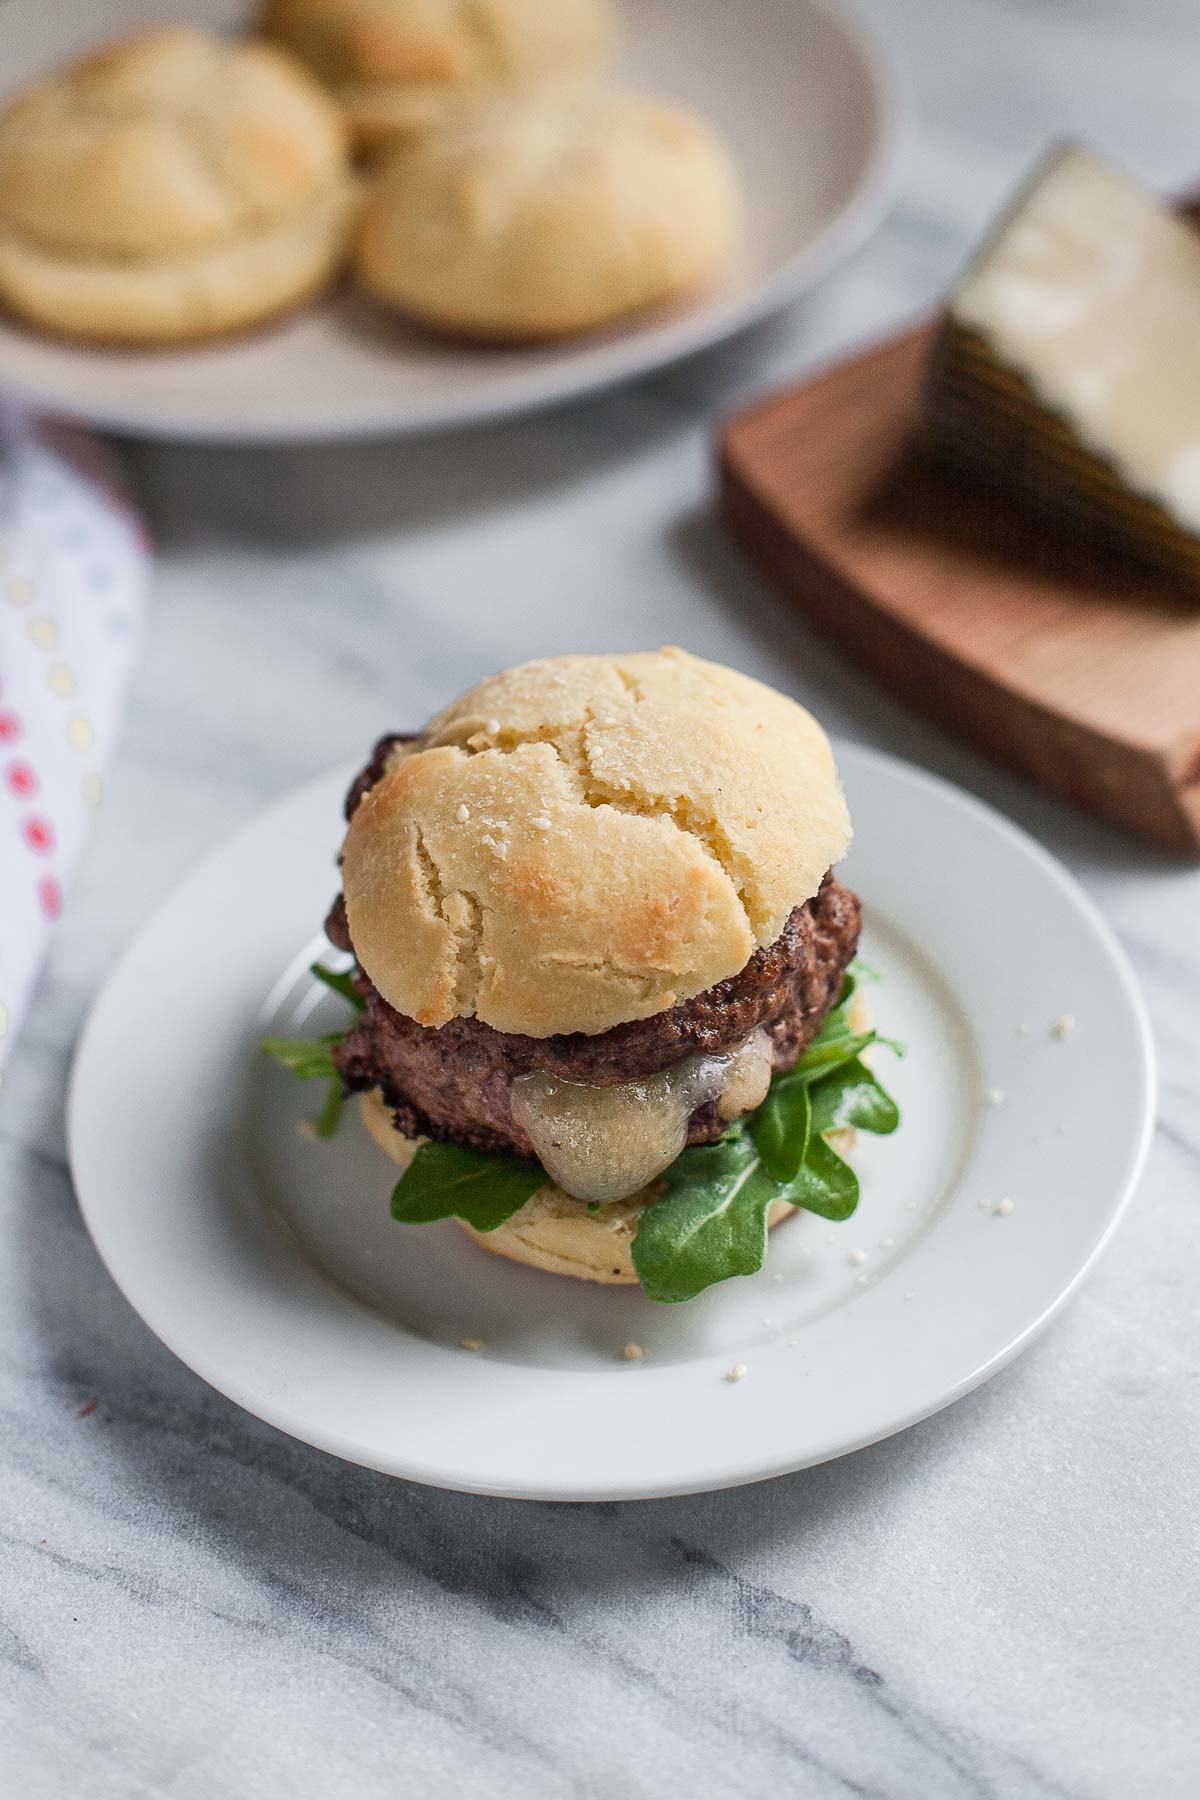
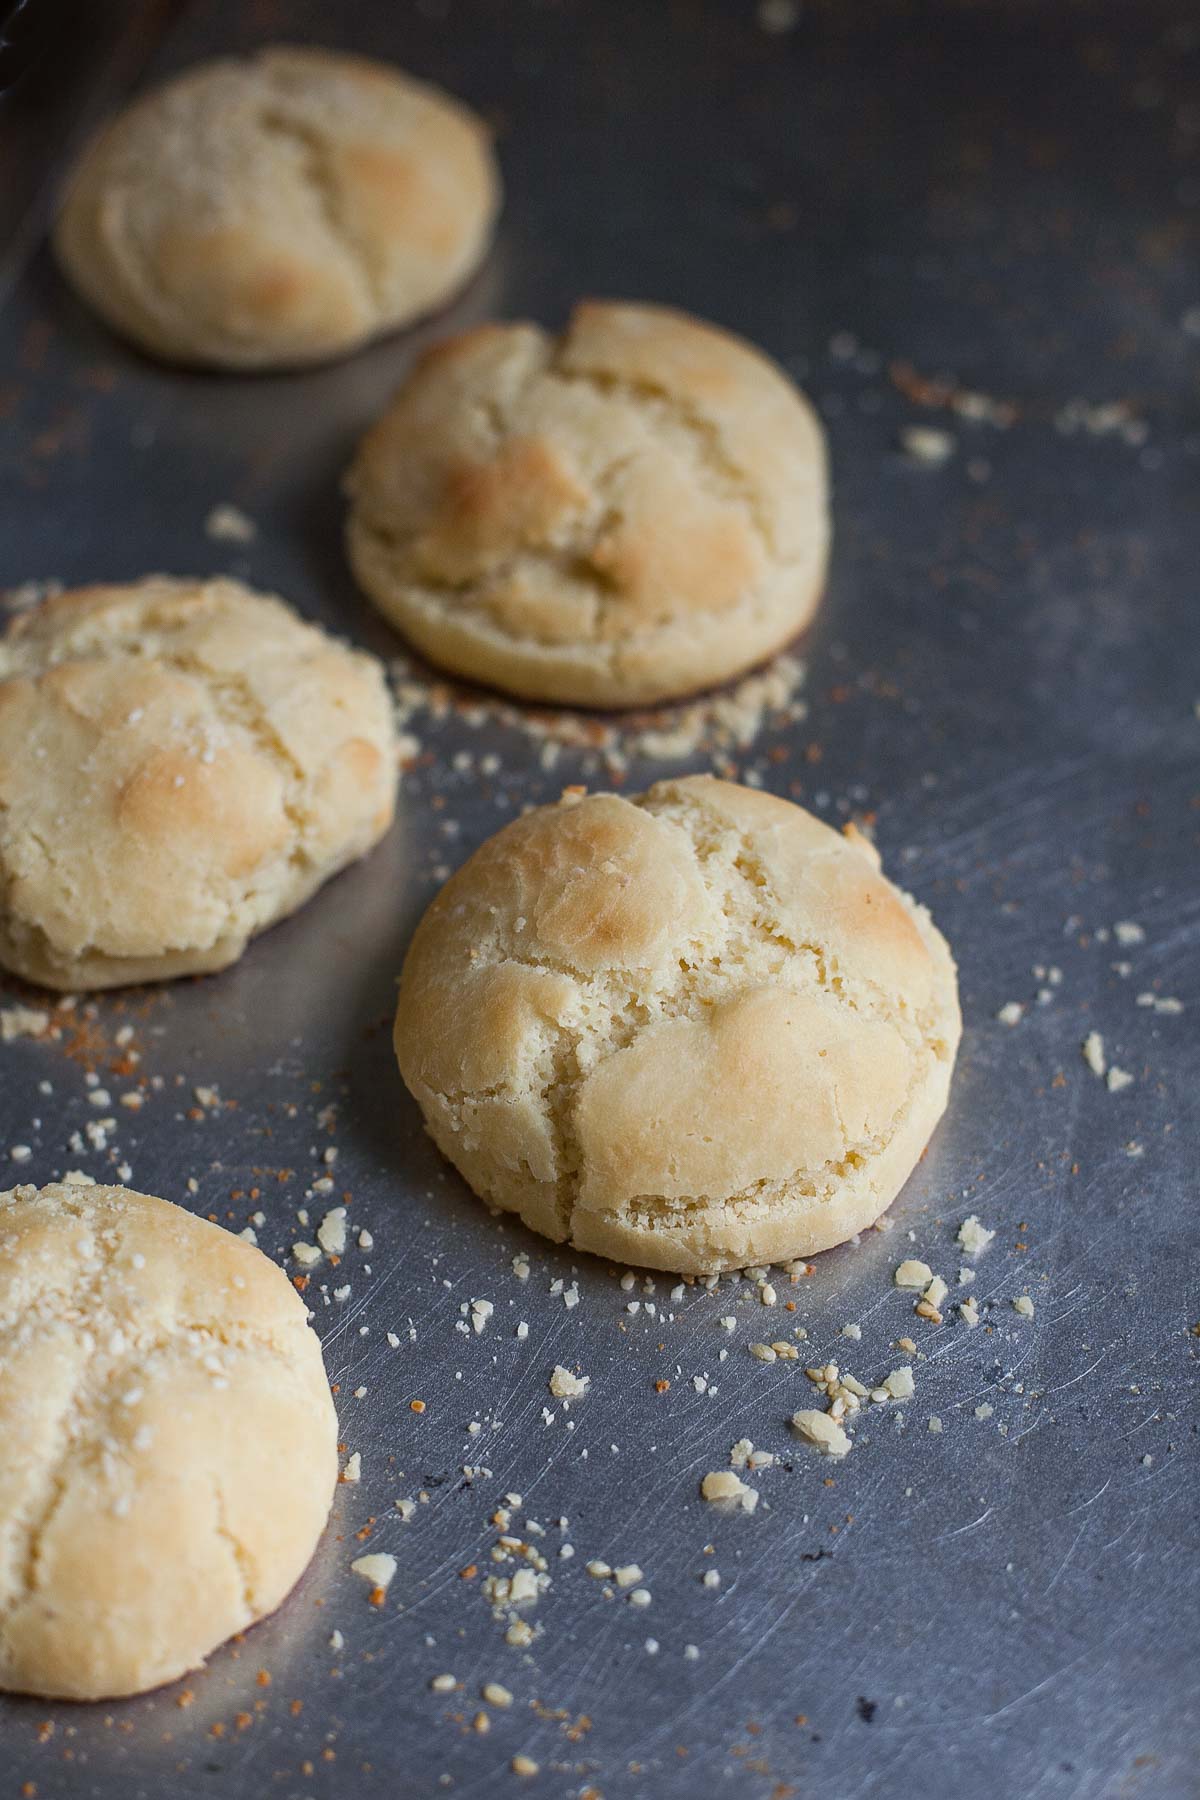
Stuffed Lamb Burgers + Paleo Burger Buns

Stuffed Lamb Burgers + Paleo Burger Buns | acalculatedwhisk.com

Lamb burgers are stuffed with manchego cheese and cherry jam for an elegant twist, and served on easy-to-make yeasted paleo burger buns!

Last year, my fiancĂ© Ben asked me to make stuffed lamb burgers for his birthday dinner. At that point I had never made a stuffed burger or even cooked with lamb, which I didn't think I liked. Since it was his birthday, though, I went for it. 

Can you see where this story is going? Spoiler alert: the burgers were delicious. Stuffed burgers are not hard to make, and it turns out I DO like lamb!

Paleo Burger Buns | acalculatedwhisk.com

I make burgers all the time because they are such an easy, simple dinner, but I usually make them with beef and use butter lettuce for the buns. Upgrading to a lamb burger (and a stuffed one at that!) and making my own paleo burger buns definitely kicked my burger night game up several notches.

These burgers are stuffed with manchego cheese and cherry jam, so you end up with the perfect balance of sweet, salty, and meaty tastes. The strong flavors of lamb pair really well with fruit preserves, and I chose manchego because it's one of my very favorite cheeses. If you're avoiding dairy, you can stuff the burgers with just jam and they'll still be delicious. You could even add some avocado slices on top for extra creaminess. Or, if adding jam to a burger freaks you out, you can stuff them with only the cheese (but I do hope you'll try the jam at least once!).

Yum

Saturday, June 6, 2015

Cape Cod Food Photography & Cheesemaking Workshop

Cape Cod Food Photography & Cheesemaking Workshop | acalculatedwhisk.com

Are you ready for a bunch of photographs of gorgeous cheese?

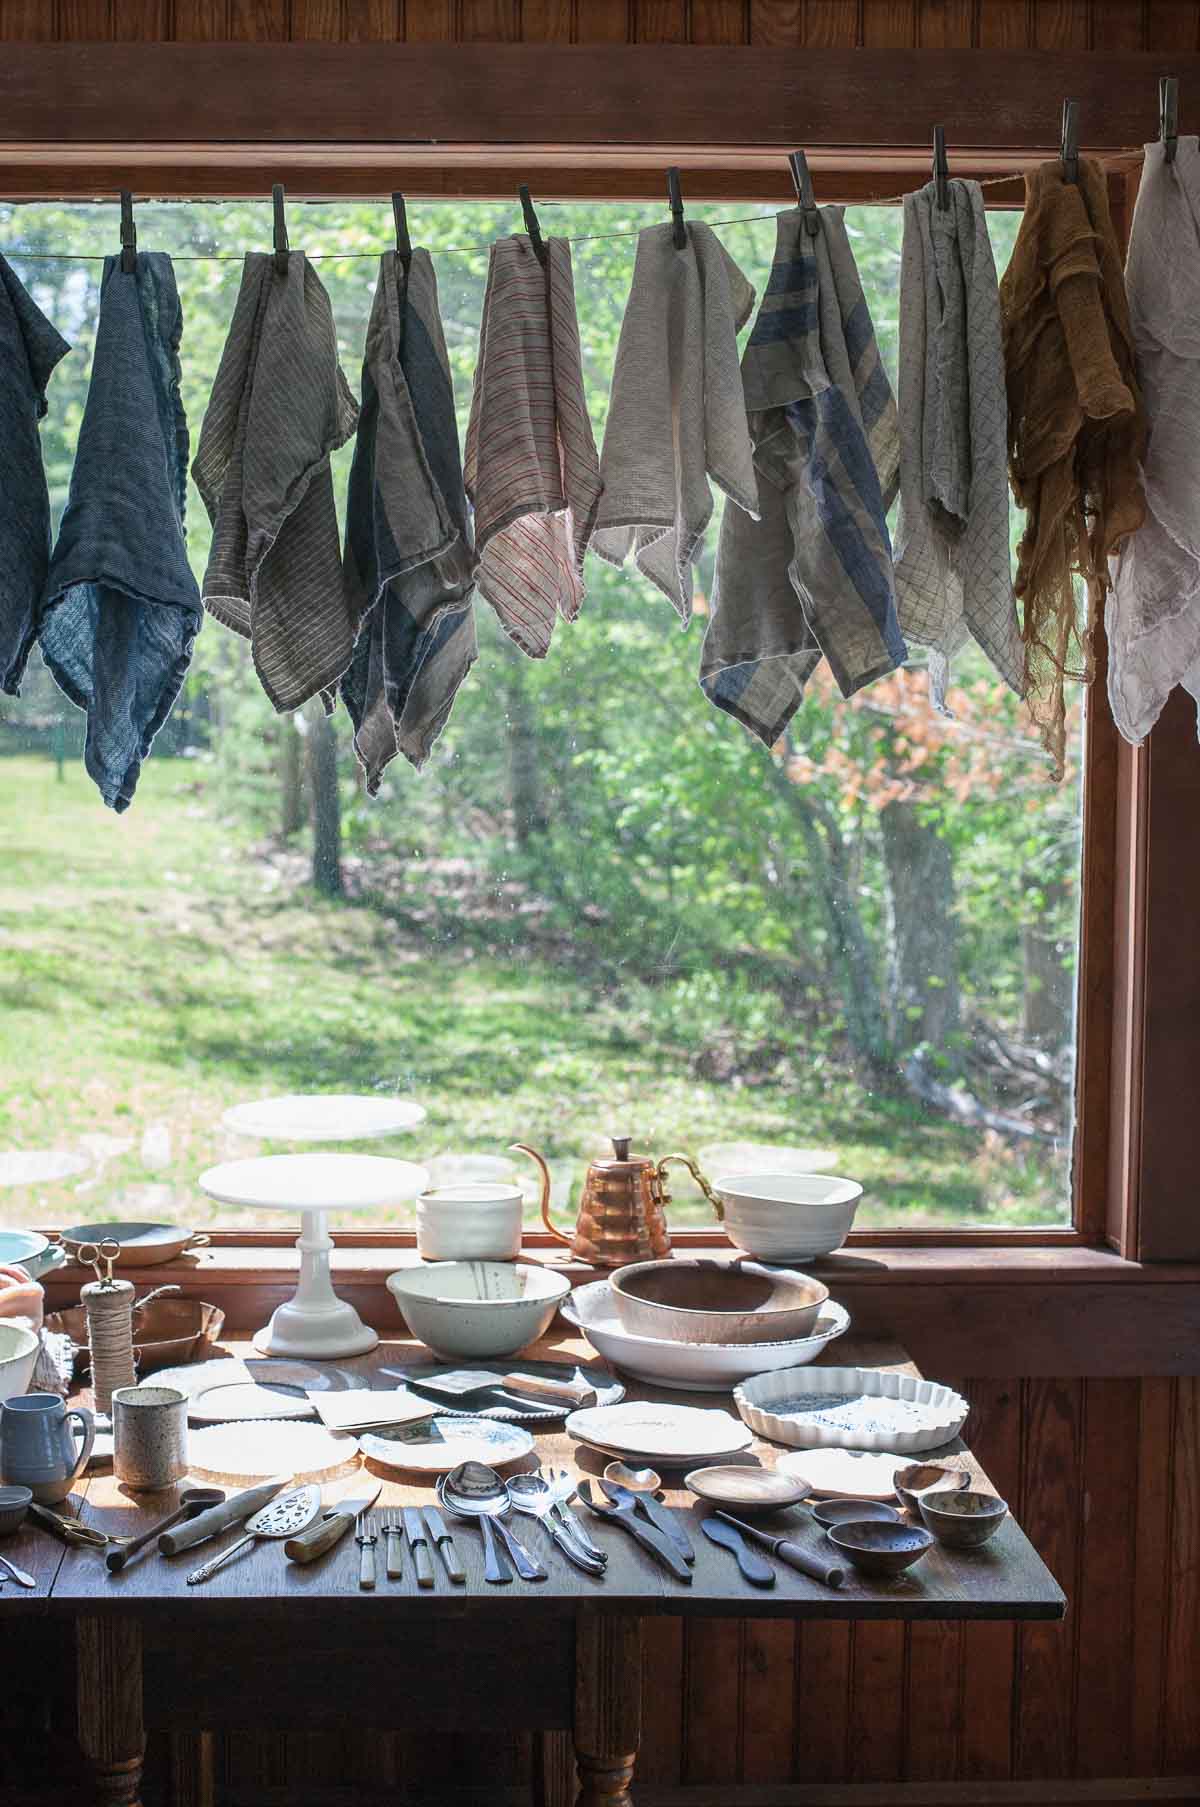
Over Memorial Day weekend, I went to an amazing food photography, food styling, and cheesemaking workshop hosted by Carey Nershi and Eva Kosmas Flores in a beautiful house on Long Pond in Plymouth, MA. It was also my 30th birthday on Sunday, and I had the best time celebrating and learning with Eva, Carey, Brandy, Jennifer, Renee, Jenn, Olga, Camaron, C.J., and Leslie. When I first thought of signing up for the workshop as a birthday present for myself, I wasn't sure how I'd feel ringing in a new decade amongst virtual strangers, but everyone was so wonderful that by the time Sunday rolled around I felt like I was surrounded by a group of close friends.

Cape Cod Food Photography & Cheesemaking Workshop | acalculatedwhisk.com
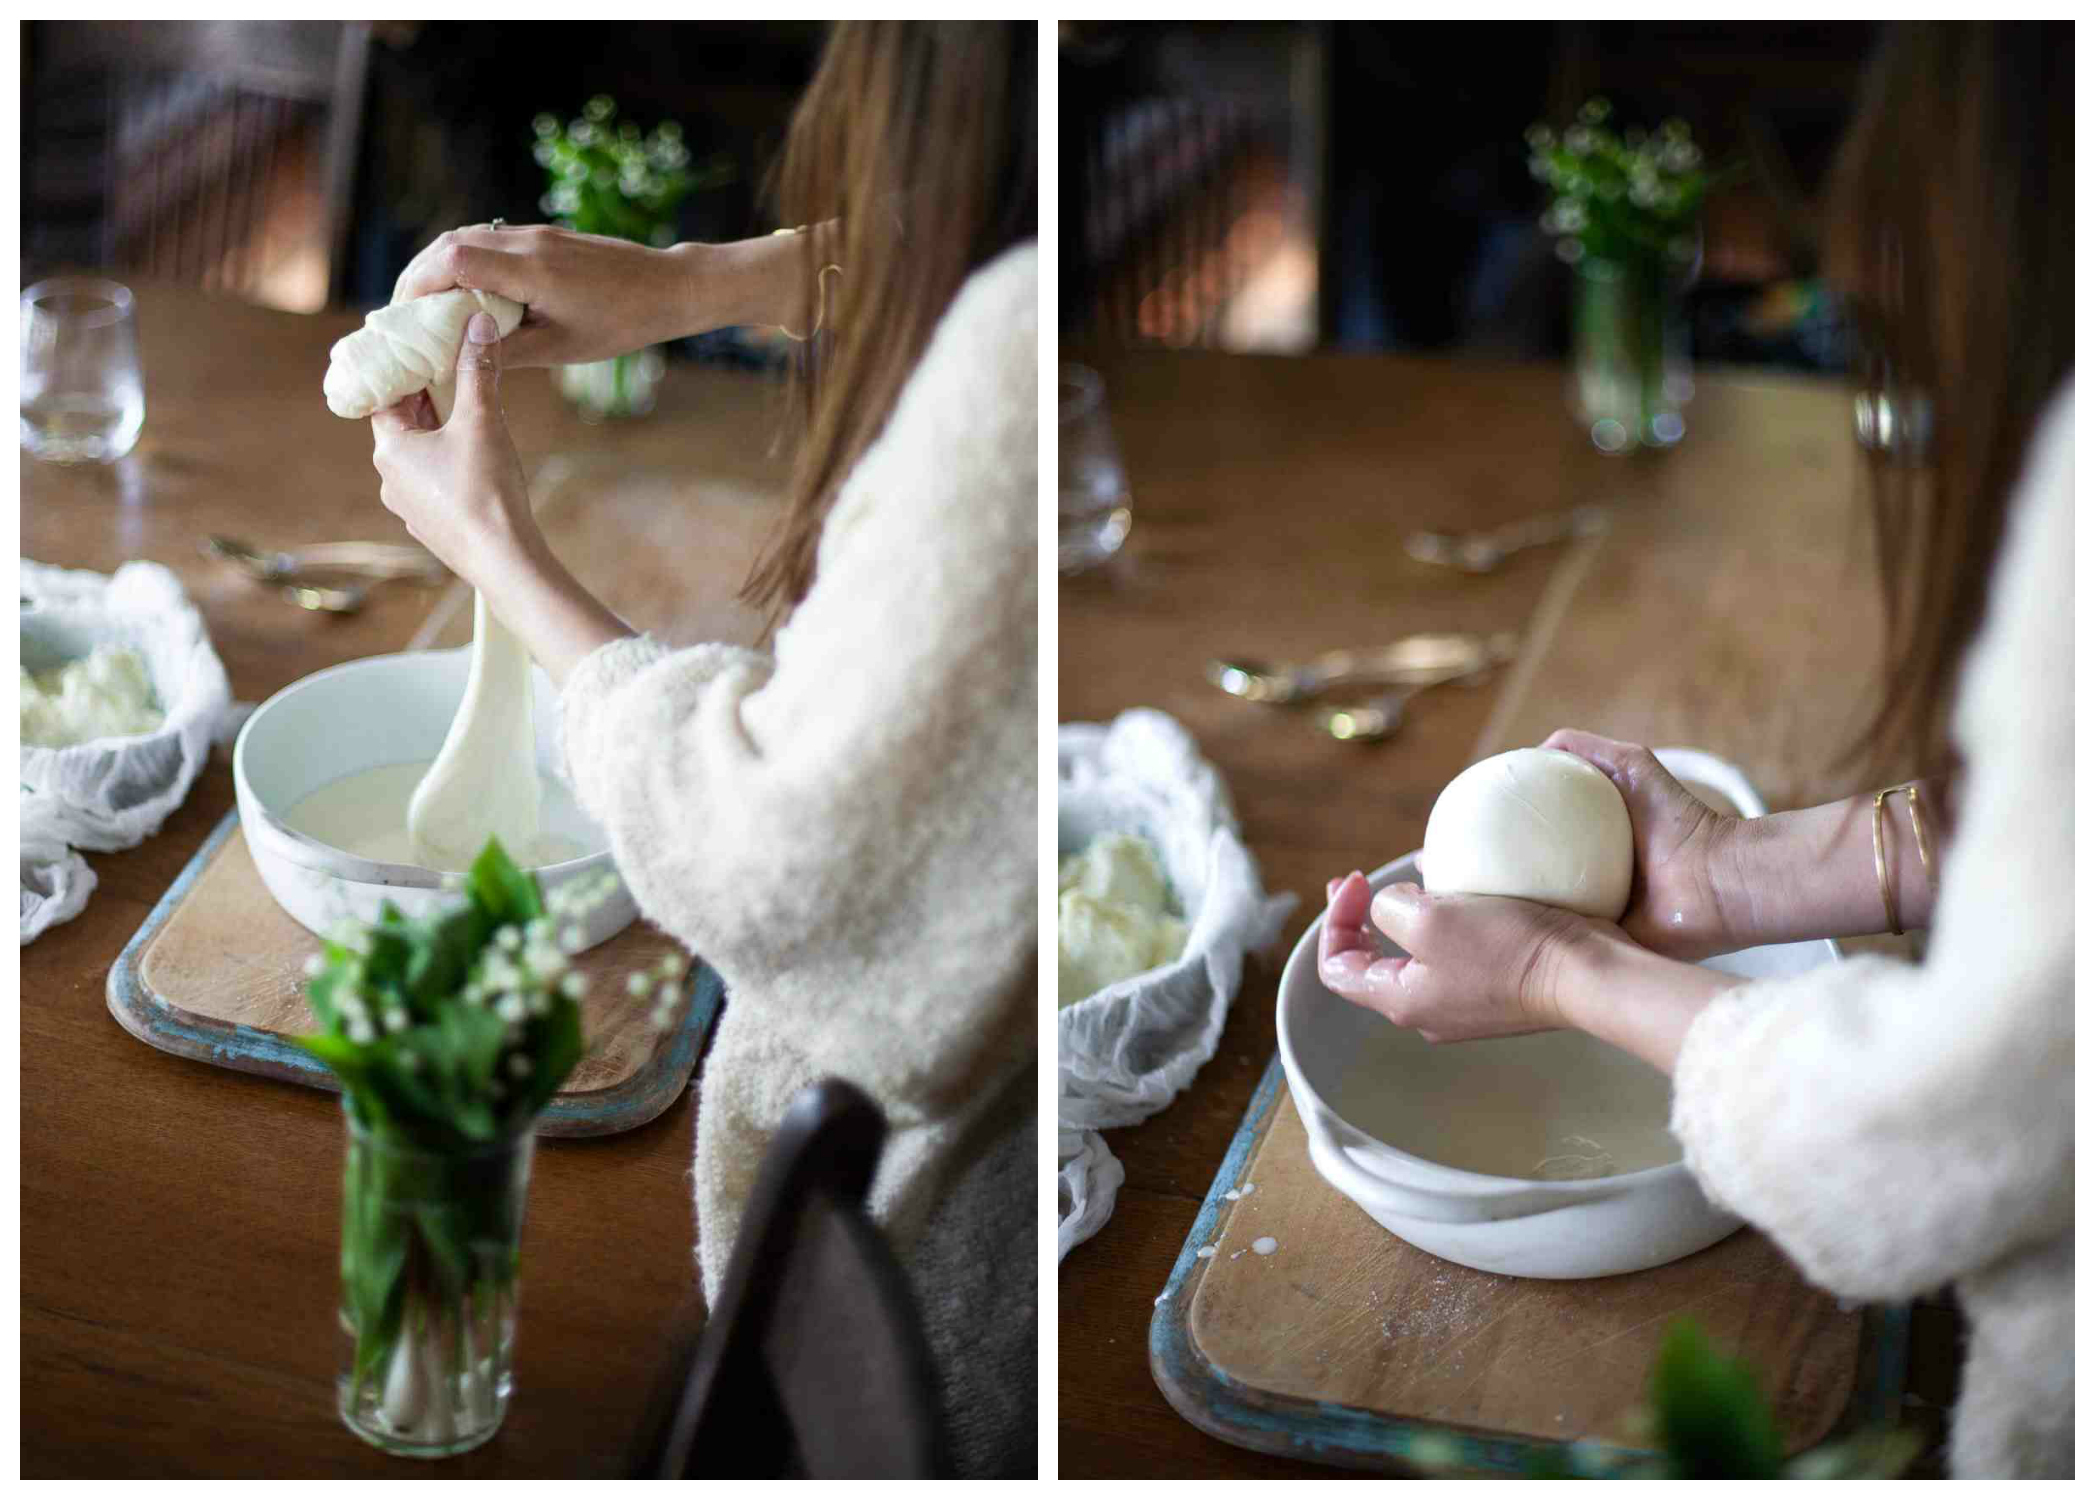
Eva taught us how to make ricotta, fresh mozzarella, and goat cheese, and Carey taught us how to dip hard cheeses like cheddar in wax to keep them well-preserved as they age. Above you can see Eva stretching the mozzarella and then forming it into a ball, which has to be done quickly before the cheese begins to harden. We sliced up that ball of fresh mozzarella and ate it while it was still warm with a tiny sprinkling of sea salt, and it was one of the best things I've ever tasted.

Yum

Tuesday, June 2, 2015

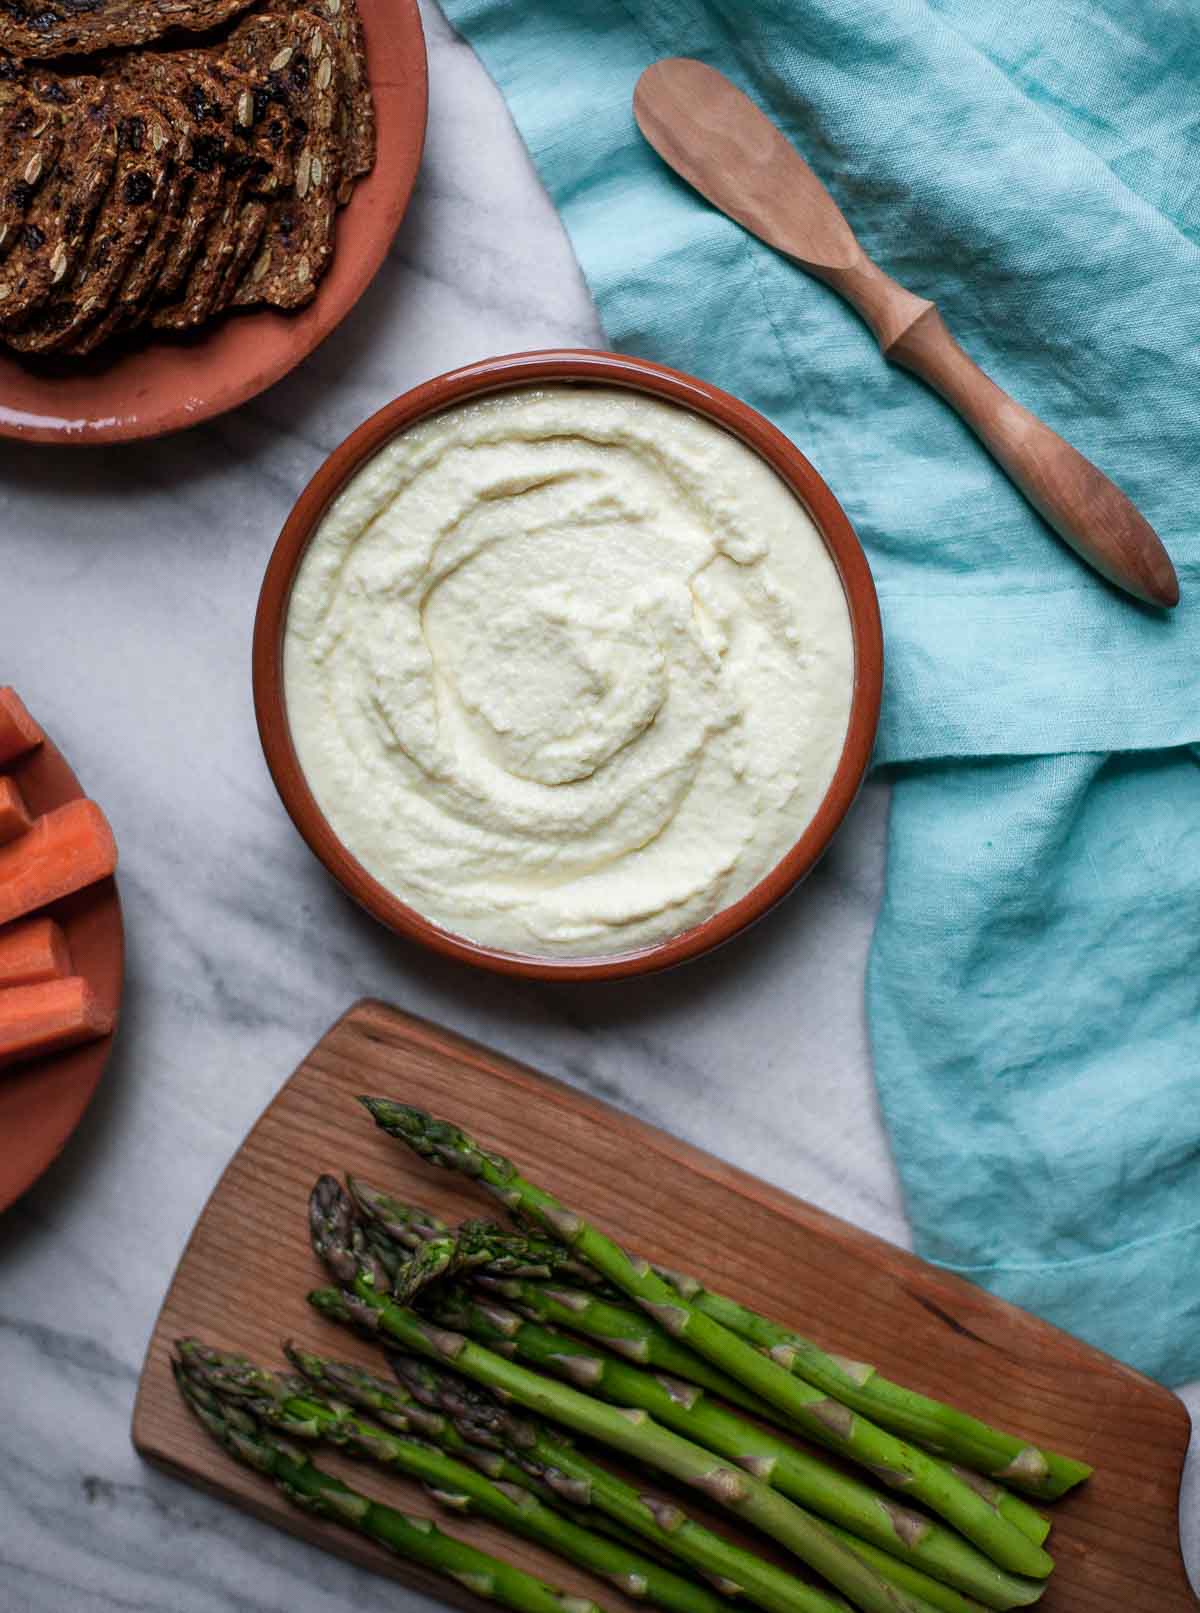
Creamy Whipped Feta

This post is sponsored by Nikos Feta.

Creamy Whipped Feta made with Nikos | Get more feta recipes & enter to win a trip to Hawaii here: https://ooh.li/1cd7e02 #sp

Have you ever whipped feta cheese? 

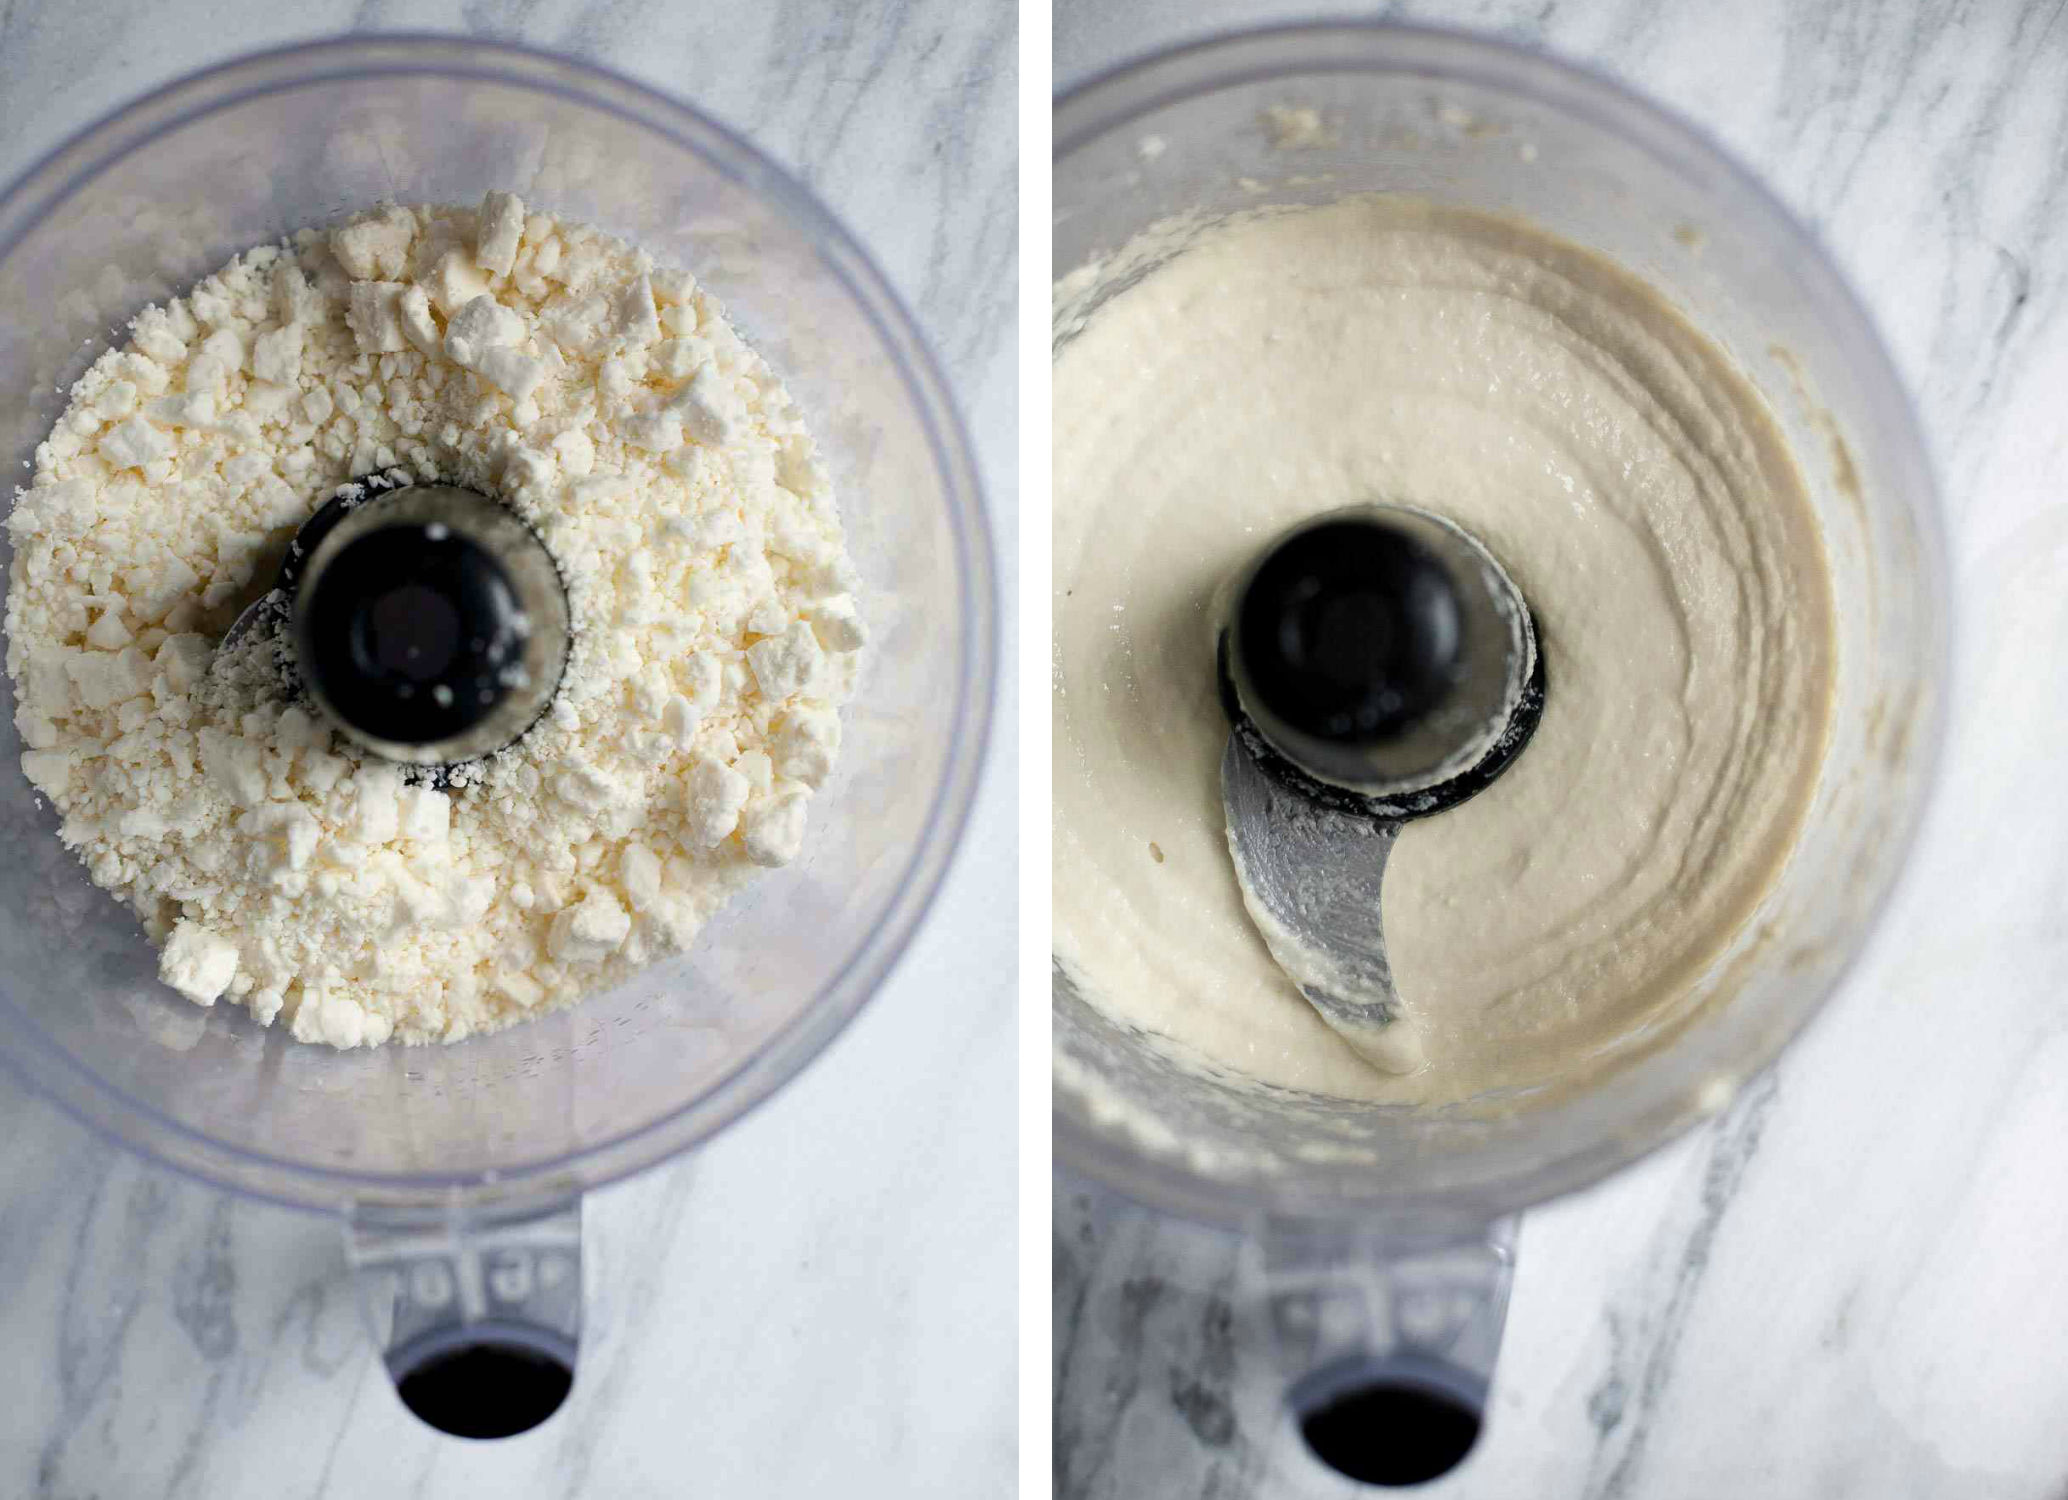
If the answer is no, buckle your seat belt and get out your food processor. You are in for quite a ride (or at least, your food processor is in for a quite a workout).

This recipe is super simple, but totally changes the character of feta. The rich and tangy flavor that's usually packaged in chewy little crumbles infuses this smooth, creamy, and versatile dip. I enjoyed this whipped feta with fresh asparagus spears, carrot sticks, and my favorite gluten-free crackers, but the possibilities are limitless. (It MAY have crossed my mind to use this instead of tomato sauce on a pizza, maybe with roasted red peppers and fresh mozzarella balls, too. Doesn't that sound amazing?)

Creamy Whipped Feta made with Nikos | Get more feta recipes & enter to win a trip to Hawaii here: https://ooh.li/1cd7e02 #sp
Nikos Feta works beautifully in this dip. It's not as overwhelmingly salty as some fetas are, but still has the wonderfully sharp and distinctive flavor that feta is famous for. It's sold in a block or in a tub of crumbles, and either one will work for this recipe! I used their traditional feta, but I bet this would also be great with one of their other flavors (tomato basil, perhaps?). You can see all the different flavors here.

Yum

Saturday, March 8, 2014

Easy French Frittata


This omelette is inspired by the best breakfast I ever had, which was at a little French cafe in Montreal two summers ago.  Ben and I drove up there and stayed for about a week, and this meal has been stuck in my head ever since.  The whole trip was pretty great (it was our first vacation together), but this omelette was a definite highlight, and I've been trying to recreate it ever since.  I'm really mad at myself because I can't remember the name of the cafe--I didn't have a blog back then, so there wasn't an easy place to store my restaurant ramblings.  If it comes to me, I'll be sure to update this post with a link.

Here's a picture of our breakfasts that day: my omelette had Brie and spinach, and Ben's had duck confit and gruyere.  Both were deliciously creamy, with eggs cooked to perfection and thick slices of cheese that were barely melted in the middle.  They were amazing.  The sides of hash browns, buttery baguette, and breakfast beans were also ridiculously tasty.

Yum

Monday, February 10, 2014

Saag Paneer


Have you ever made your own cheese?  I made some ricotta last year, and wanted to try my hand at paneer.  Fresh cheeses like paneer and ricotta are easy to make at home, and totally worth it.  All you need is milk, a lemon, some cheesecloth, and a little patience.  

Saag paneer has been my favorite Indian dish for years, and I'm so glad I finally made it myself.  The creamy spiced spinach studded with chewy bits of paneer is totally addictive, and my major Indian takeout/delivery habit is all saag paneer's fault (oh, and Eat24--you guys didn't help, either).  This homemade version is just as good as my local restaurant's, and the paneer is far superior: it's meltingly tender, with a wonderfully creamy flavor.  It's a little labor intensive to make the paneer and the saag on the same day, but it was a perfect project for a Sunday afternoon.  Next time I might try making a big batch of paneer, stashing some in the fridge, and freezing the rest.  That way I can make saag paneer happen on weeknights!

Yum

Tuesday, October 29, 2013

Pumpkin & Pecorino Soufflé (Gluten-free)


Me and pumpkin--it's not over!  Whenever I have leftover pumpkin in the fridge, I can't stop myself from adding it to almost all things.  This past weekend, I went to see my little sister, who's 15, cheer at her high school's last home game of the regular season.  The game fell on my dad's birthday, so I wanted to bring a little something sweet for the post-game celebration.  Unfortunately, in addition to her dairy and soy allergies, my sister is also currently avoiding nuts, citrus, and chocolate as part of an anti-migraine diet.  And, of course, I wanted whatever I made to be gluten-free.

Well, what was left that COULD go in these treats?  Pretty much just pumpkin (and a few coconut products).  I ended up making gluten-free, dairy-free, soy-free, and nut-free pumpkin cupcakes, and while I didn't think they were good enough to share with all of you, my sister really liked them.

The cupcakes only used a cup or so of pumpkin, so I was left with some extra, which was burning a hole in my pocket/fridge... Can that expression apply to food you really want to use up?  Or is it only for money you're dying to spend?

Yum

Wednesday, July 17, 2013

Blackberry, Almond, and Rocket Salad with Fresh Mozzarella


Did you know that arugula is called rocket in the UK?  Arugula is a pretty fun word, but rocket is even better.  This salad has rocket in it, along with all the other delicious things listed in the title.  After making blackberry cupcakes for this month's Get Your Chef On challenge, I wanted to do something else fabulous with the rest of my juicy blackberries.  I dreamed up this salad, and thought about it all day during class.

I was happy to find that it was even better than I had imagined!  The spicy arugula, sweet blackberries, creamy mozzarella, and toasty almonds are the perfect combination.  This is my new favorite summer salad.  Ben loved it, too!  When I served it he said it looked fancy (secret--any salad with blackberries looks fancy!), and then he asked for seconds.  Usually he's a one plate of salad kind of guy.

So, here's what I would recommend.  Go buy a lot of blackberries, make these cupcakes, then make this salad.  A light dinner with a decadent dessert is the perfect thing to have on a summer evening.


Ingredients (serves 2):

1/2 cup sliced almonds
3 cups arugula
2 teaspoons olive oil
1 teaspoon balsamic vinegar
Pinch of sea salt
1 heaping cup blackberries
4 ounces fresh mozzarella, roughly cubed

Toast the almonds in a dry skillet over medium heat, stirring often to make sure they don't burn, until golden brown (less than five minutes).  Set aside to cool.

Toss the arugula with the oil, vinegar, and salt and adjust seasonings to taste.

To serve, line plate with arugula.  Top with blackberries, fresh mozzarella, and toasted almonds.  Enjoy!

You might also like:


Spring Salad with Citrusy Shallot Vinaigrette


Jerk Chicken with Avocado and Papaya Salad


Wheat Berry Salad with Pine Nuts, Raisins, and Pickled Red Onions


Yum

Monday, July 15, 2013

Cowboy Carbonara


Have you heard of cowboy caviar?  It's a thing.  I've never really tried it, but it's a lot like this salsa, which is fabulous.  What's Gaby Cooking has several versions, including vegetarian cowboy caviarcowboy caviar quinoa, and cowboy caviar chopped salad.  They all look delicious, but it's the catchy name that really stuck with me.

So today I had bacon, pasta, and three pattypan squashes that my mom gave me (aren't they the prettiest squashes ever?).  I wanted to make some sort of pasta carbonara, but I didn't have any parmesan.  I came up with this version using cheddar cheese and called it cowboy carbonara.  My boyfriend laughed at me, but he ate seconds.  No cowboy can resist.

I think it might even be fun to add some black beans, tomatoes, and avocado here.  Everything goes with pasta, bacon, and cheese, right?  Go crazy.  I was also going to add cilantro but I froze it in my fridge AGAIN.  Fail.


Ingredients (serves 4):

4 slices bacon
1 pound pasta (I used orecchiette)
2-3 pattypan squash, zucchini, or summer squash, chopped
1 cup fresh or frozen corn kernels
2-3 scallions, sliced, plus extra for garnish
1 egg
4 ounces freshly grated sharp white cheddar cheese, plus extra for serving
Salt and pepper to taste

Cook the bacon in a large dry skillet over medium heat until crisp.  Set aside to drain on paper towels.  Once the bacon cools, roughly chop it.

Cook the pasta until al dente according to the package directions.  Drain, reserving one cup of the cooking water.

In a small bowl, whisk together the egg and the grated cheese.

Pour off all but one teaspoon or so of the bacon grease, and return the pan to the heat.  Add the squash and cook for about ten minutes, until tender.  Add the corn and saute for another 2-3 minutes until heated through.  Stir in the scallions and chopped bacon and reduce the heat to low.

When the pasta is done, add it to the skillet with the vegetables.  Add the egg and cheese and cook, tossing with pasta water to thin out the sauce as needed, for 2-3 minutes.  This is to make sure the egg gets cooked.  Season to taste with salt and pepper.

Serve hot, with additional cheese and/or scallions on top.


You might also like:


Yum

Thursday, July 11, 2013

Fresh Bread with Homemade Ricotta & Herbs


Ever since my successful experience using yeast to make garlic naan, I've been wanting to try my hand at a loaf of bread.  When I saw this recipe for a three-hour, one-bowl loaf of bread on Blueberry Kitchen, I decided to give it a go.

I've also been eager to try making homemade ricotta.  It turns out that it's really easy.  The bread isn't hard, either, but this ricotta is truly simple.  Heat the cream and milk, stir in the vinegar, wait a minute, then strain.  The hardest part was getting my hands on some cheesecloth.

You should make both these things because the homemade versions are much tastier than store bought, and because they both provide great opportunities to witness some everyday kitchen magic.  I don't know about you, but I'm going to be impressed that my bread dough has doubled in size, even though the recipe said it would.  Yeast is a great magician.  Vinegar performs a similarly impressive feat when it makes cheese curds suddenly appear in a saucepan of hot milk and cream.  These recipes are just so much fun!  Your own magic show, with delicious results.


Ingredients for the bread (recipe from Blueberry Kitchen, adapted from BBC Food; makes one small loaf):

1 teaspoon active dry yeast
1 teaspoon sugar
3/4 cup warm water
2 cups flour (I used all purpose, but you can use bread flour if you have it), plus extra
1 teaspoon sea salt
1 tablespoon melted butter
Oil for greasing

In a large bowl, combine the yeast, sugar, and warm water.  Let sit for about ten minutes until foamy.
Add the flour, salt, and butter and stir just until combined.  The dough will look a little shaggy.


Turn the dough out onto a clean, lightly floured surface.  Knead for five minutes, adding a little more flour as necessary to keep the dough from sticking.  Rinse out your bowl and grease it lightly.  Form the dough into a ball and place it in the bowl.  Cover with a kitchen towel and let rise for an hour.  The dough should double in size.


Prepare a lightly greased baking sheet.  After an hour, knead the dough gently to remove excess air, and form into a rounded loaf shape.  Place the loaf on the baking sheet, cover with a towel, and let rise for another hour.


Preheat the oven to 425.  Place an empty roasting tin on the bottom rack of the oven.  Lightly flour the outside of the dough, pressing in a little with your finger.  Use a sharp knife to score the dough in a few places, cutting about half an inch deep.


Place the baking sheet with the bread in the oven, and pour a little cold water into the roasting tin.  This will create steam that helps the bread develop a crispy crust.

Bake the bread for about 25 minutes, until it's golden and sounds hollow when you tap the bottom.  Cool on a wire rack.  Store wrapped at room temperature for up to a week.


Ingredients for the ricotta (adapted from Ina Garten; makes about 3/4 cup):

2 cups whole milk
1/2 cup heavy cream
Scant 1/2 teaspoon sea salt
1 tablespoon plus 1 scant teaspoon white wine vinegar

To make the ricotta, combine the milk, cream, and salt in a medium saucepan.  Bring to a boil over medium heat, stirring occasionally.

Meanwhile, line a sieve with two layers of dampened cheesecloth and place it over a large bowl.

Once the milk mixture has come to a rolling boil, remove from the heat and stir in the vinegar.  Let the mixture sit for a minute or so to curdle.  Slowly pour the mixture through the cheesecloth lined sieve, and let it drain for 20-25 minutes.  Draining for longer will give you a firmer, less moist ricotta.  Discard the whey and cheesecloth, and store the ricotta in the fridge, covered, for up to five days.


Ingredients for the herbed ricotta:

3/4 cup ricotta
1 scallion, thinly sliced
Small handful of fresh basil, julienned
Small sprig of parsley, finely chopped
Salt and fresh ground pepper to taste

Mix together and season to taste.  Serve with fresh bread.


Yum

Friday, July 5, 2013

Brie Omelette with Roasted Red Pepper, Corn, and Fresh Basil


We grow a few herbs on the porch, including basil.  It's so much fun to go out there and grab a few leaves of something for whatever I'm cooking.  Today, I was inspired by the leftover brie and roasted red pepper and decided to make them into an omelette with a little corn.  How could I make this omelette even better? I wondered.


Fresh basil!  I was right.  I think the fresh basil is what takes this from good to great.

A note about omelettes (mine, at least): they are not photogenic.  First of all, I broke my favorite square white plate while getting ready to photograph this.  All the rest of my big plates are yellow, which isn't the best background for eggs.  But also, I struggle to make my omelettes fold right and look pretty.  Any tips?


I think part of the problem is the fact that I'm too lazy to make one omelette for me and one for my boyfriend, so I insist on making one gargantuan omelette for us to share.  It's just too BIG to be pretty.

At least it's not too big to be delicious!

Ingredients (serves 2):

2 tablespoons butter, divided
1/3 cup fresh or frozen corn kernels
1 roasted red pepper*, peeled, trimmed, deseeded, and chopped
4 eggs
Splash of milk
Salt and pepper to taste
3 ounces brie, cut into thick slices
Handful of fresh basil leaves, julienned**

Heat one tablespoon of butter in a large skillet over medium heat.  Saute the corn with a little salt and pepper until heated through.  Add the red pepper and cook for another minute or so.  Put the vegetables in a bowl and set aside.

Wipe out the skillet and heat the rest of the butter over medium heat.  In a small bowl, whisk together the eggs and milk with some salt and pepper.  When the skillet is hot, pour in the egg mixture.

Let the omelette set for a couple of minutes, then add the vegetables (reserving some for the garnish if desired), brie, and basil.  When the eggs are almost set, fold the two sides of the omelette into the middle (I have no tips on doing this elegantly.  Don't worry, it will taste good even if it turns into a scramble).  Cook for another minute or so, then flip onto a plate, garnish with reserved vegetables and more basil, and enjoy hot.

Share this omelette with someone special!  Or, decide you need the lumberjack special and eat it all yourself :).

*If you have a gas stove, you can roast peppers stovetop!  Place the pepper directly on the burner with the flame on high.  Turn frequently with tongs until it's collapsed and charred on all sides.  If you don't have a gas stove, preheat your oven to 500 or your broiler, put a little oil on the pepper, and roast on a cookie sheet, turning frequently, until it's deflated and well-charred.  Place the pepper in a bowl and cover.  Steaming the pepper like this makes it easier to peel.  When it's cool enough to handle, peel the pepper under cold running water.  Use in this omelette, or for pasta, pizza, or a topping for cheese and crackers.

**To julienne basil, stack the leaves on top of each other.  Roll them up, and slice into thin strips on the diagonal using a sharp knife.


Yum

Wednesday, June 5, 2013

Penne with Cilantro Edamame Pesto


Have I mentioned how much I love pasta?  And pesto?  They are the best, and a great combination.  I'm into making pesto with whatever I have on hand, and experimenting with the colors and flavors I get from using different ingredients.  For example, the cilantro avocado pesto I made was great for a cool pasta salad.


This time, I used cilantro again (but you could also use basil) and added edamame for color and some extra protein.  The pesto ended up a beautiful shade of mint green.  And don't worry, it doesn't taste like pasta with soybeans.

You have to try this!  It's quick and satisfying, and I really can't get over the color!  Also, I'm sharing it at this week's Thursday's Treasures.  Go check out the great stuff everyone is posting!


Ingedients (serves 4-6):

1 pound penne or other cut pasta
1 cup frozen shelled edamame
3/4 cup olive oil
1-2 cloves garlic
1 cup freshly grated parmesan cheese, divided, plus extra for serving
Sea salt to taste
1 cup loosely packed fresh cilantro
1/4 cup pine nuts, toasted (optional)

Blanch the edamame by cooking it in boiling water for 3 minutes or until tender.  Drain and set aside to cool slightly.

Cook the pasta until al dente, reserving one cup of the pasta water.  Drain and set aside.

In a food processor, combine the edamame, garlic, 1/2 cup of parmesan cheese, cilantro, and a pinch of salt.  With the motor running, add the olive oil in a steady stream.  Taste the pesto to see if it needs more salt.

When the pasta is done, stir in the remaining 1/2 cup of parmesan cheese.  Stir in the pesto, and add pasta water as necessary to thin out the sauce.  Serve hot with additional parmesan for sprinkling.
Yum

Sunday, May 19, 2013

Creamy Beer & Black Bean Queso


We had a party last night!  The main feature was the decorate-your-own cupcake station (more on that later).  However, we did have one delicious thing from the savory side--this queso!  I highly recommend it.

This is adapted from a recipe on How Sweet It Is, one of my very favorite food blogs.  I was so excited that Jessica posted this just in time for me to make it for my party!  All the recipes I've tried from her site have been fabulous.  Plus, her blog is really fun to read.  I had to take out the chorizo because of all my vegetarian friends.  I'm sure it would be fabulous with sausage, but it's hard to imagine it being more fabulous than it already is!

This morning, I used the leftover queso to make delicious chilaquiles.  I fried up some onions and garlic, added two eggs and a handful of crushed tortilla chips, and stirred in a few big dollops of this queso.  I served it with sliced avocado, cilantro, and scallions with a squeeze of lime.  Most delicious hangover cure ever!


Ingredients (serves 8 as an appetizer):

2 tablespoons olive oil
1 shallot, diced
2 cloves garlic, minced
1-2 jalapeños, deseeded and diced (I used 1, but the dip was not very hot.  Try 2 for more spice, or use the seeds.)
1 15 ounce can black beans, drained and rinsed
1 1/2 cups beer (your favorite kind--or use a Mexican beer)
1/4 teaspoon cumin
8 ounces cream cheese, softened
12 ounces freshly grated white cheddar cheese
Chopped scallions and cilantro for garnish

Heat the olive oil in a large skillet over medium-low heat.  Add the shallot, jalapeño and garlic and saute until fragrant.  Stir in the black beans, and raise the heat to medium.  Add the beer and cumin and stir to combine.  Cook for five more minutes, until some of the beer has bubbled away.

Add the cream cheese, and stir until melted and the mixture is smooth.  Add the cheddar and stir until smooth and creamy.

Serve with scallions and cilantro on top, and a big basket of chips for dipping.

If the queso hardens up, you can microwave it for a minute or so with a bit of water and stir until it's creamy again.

Yum

Monday, May 13, 2013

Cheese-Bellied Arepas with Guacamole


This is it!  My favorite arepas recipe so far : ).  When Ben and I went to Orinoco for his birthday, we ordered an arepa stuffed with queso de mano.  I realized two things: first, Orinoco makes their arepas with white cornmeal, which makes them look really elegant, and second, the CHEESE is the most amazing part.  They serve the arepas hot with a big slice of fresh cheese, still cool in the middle.  Amazing!


The arepa we had at Orinoco featured homemade Venezuelan cheese, which I couldn't find.  But, I thought fresh mozzarella would be the closest thing.  And at the store, I saw burrata, which I'd never tried before.  I got it and it was delicious!  It's basically fresh mozzarella with creamy curds in the middle.  I tried a piece plain and had to exercise resistance in order to save the rest for the arepas.


See all that cheese?  How can anyone resist?  With a little guacamole on the side (or stuffed inside), these arepas make a great dinner.


Ingredients (makes 6 arepas; serves 2 for dinner or 6 as an appetizer):

1 cup white corn masarepa
1 teaspoon sea salt
1 1/2 cups warm water
Butter for cooking
8 ounces burrata or fresh mozzarella

For the guacamole:

1 ripe avocado, peeled and cubed
Juice of half a lemon, or to taste
1 clove garlic, minced (optional)
2 scallions, sliced
2 tablespoons cilantro, chopped
Salt and pepper to taste

To make the guacamole, combine all the ingredients and mash with a fork.  Add more lemon juice, salt, and pepper to taste.

To make the arepas, mix the masarepa, salt, and water in a bowl and let it sit for five minutes.  Heat the butter in a heavy skillet over medium-high heat.

Form the dough into patties about four inches across and half an inch thick.  When the skillet is very hot, add the arepas and cook until golden brown and blistered on both sides, about 8 minutes per side.

Let the arepas cool for a minute, then slice in half with a sharp knife.  Put a thick slice of burrata in between the two halves, and serve hot with guacamole.


Yum