Showing posts with label bread. Show all posts

Wednesday, July 1, 2015

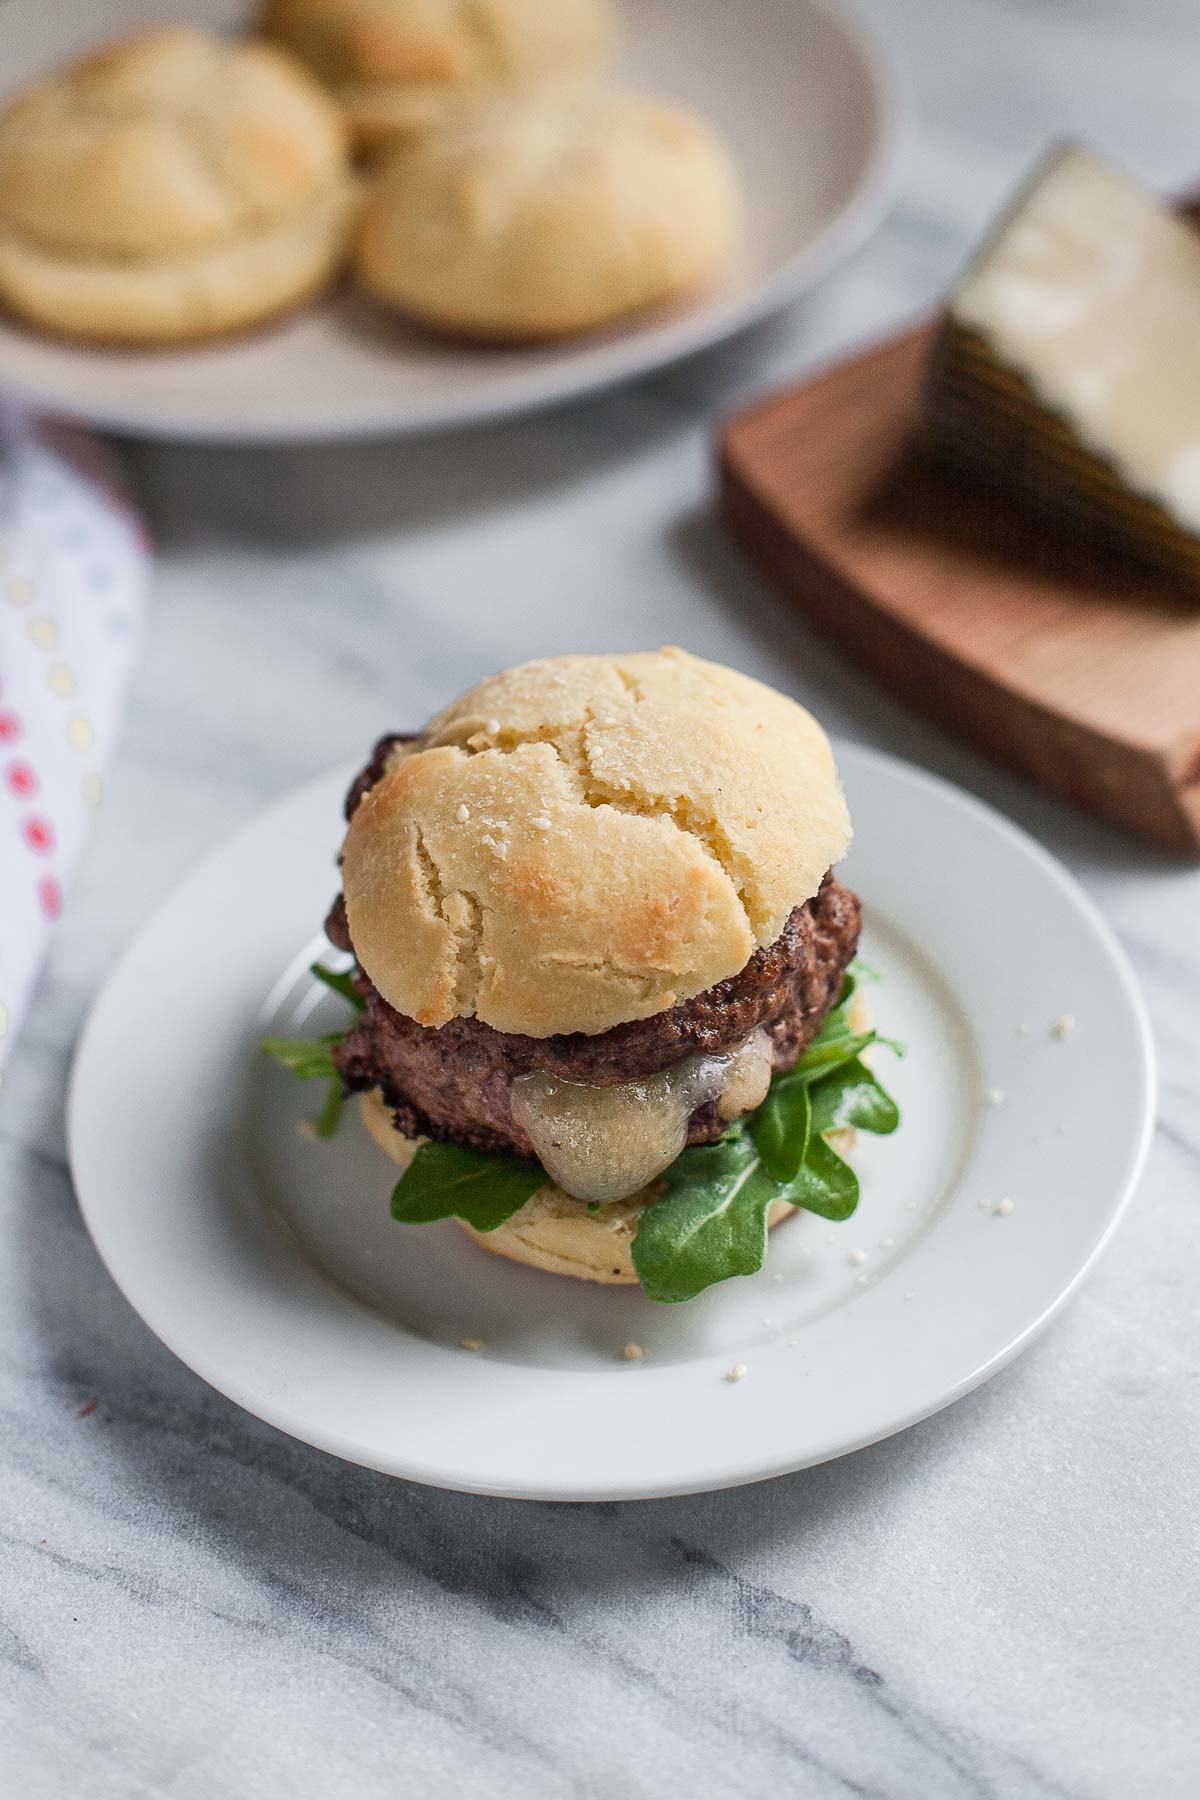
Stuffed Lamb Burgers + Paleo Burger Buns

Stuffed Lamb Burgers + Paleo Burger Buns | acalculatedwhisk.com

Lamb burgers are stuffed with manchego cheese and cherry jam for an elegant twist, and served on easy-to-make yeasted paleo burger buns!

Last year, my fiancĂ© Ben asked me to make stuffed lamb burgers for his birthday dinner. At that point I had never made a stuffed burger or even cooked with lamb, which I didn't think I liked. Since it was his birthday, though, I went for it. 

Can you see where this story is going? Spoiler alert: the burgers were delicious. Stuffed burgers are not hard to make, and it turns out I DO like lamb!

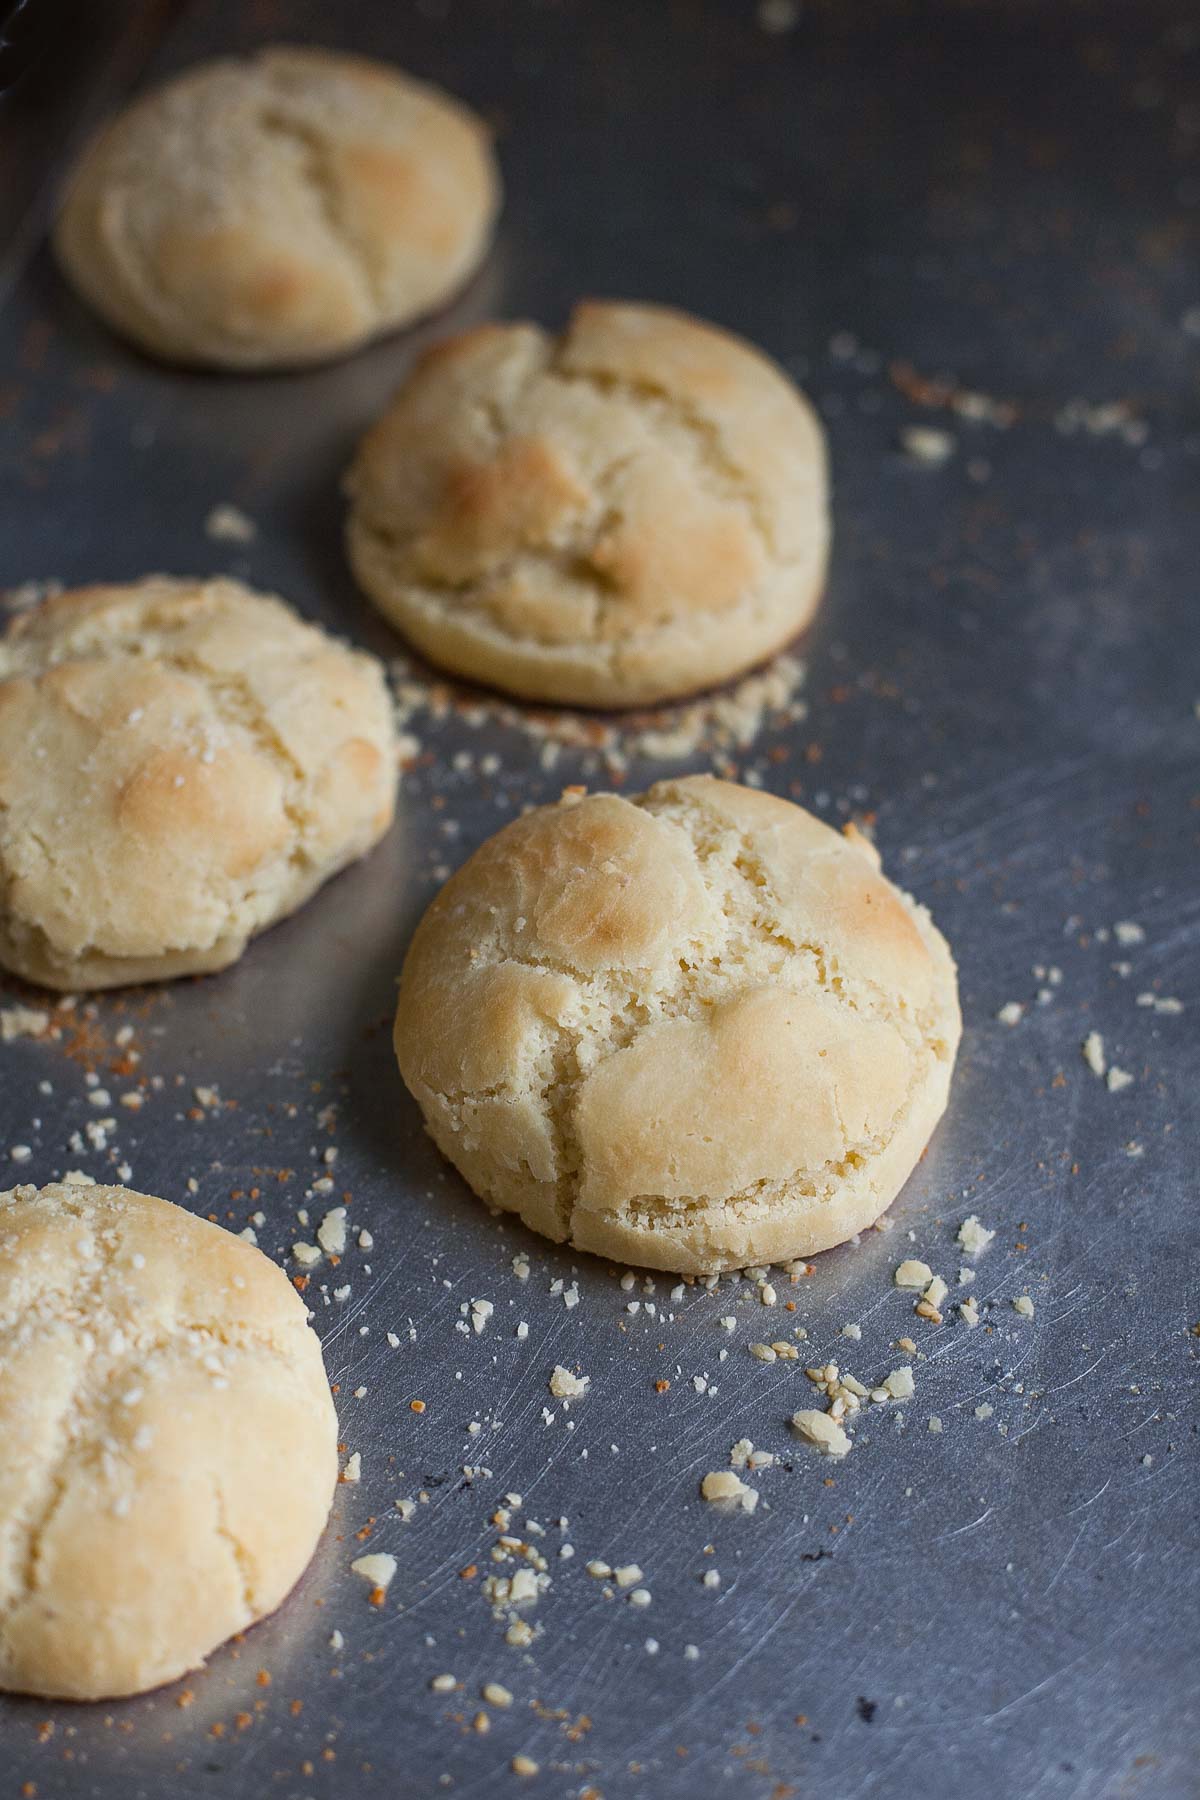
Paleo Burger Buns | acalculatedwhisk.com

I make burgers all the time because they are such an easy, simple dinner, but I usually make them with beef and use butter lettuce for the buns. Upgrading to a lamb burger (and a stuffed one at that!) and making my own paleo burger buns definitely kicked my burger night game up several notches.

These burgers are stuffed with manchego cheese and cherry jam, so you end up with the perfect balance of sweet, salty, and meaty tastes. The strong flavors of lamb pair really well with fruit preserves, and I chose manchego because it's one of my very favorite cheeses. If you're avoiding dairy, you can stuff the burgers with just jam and they'll still be delicious. You could even add some avocado slices on top for extra creaminess. Or, if adding jam to a burger freaks you out, you can stuff them with only the cheese (but I do hope you'll try the jam at least once!).

Yum

Thursday, May 7, 2015

Paleo Flatbread

Paleo Flatbread | acalculatedwhisk.com

I've cracked the code on paleo naan! This grain-free flatbread is soft and chewy just like its gluten-laden counterparts, and thanks to the yeast, its flavor is really authentic. I'm actually a little bit worried about having figured out this recipe, because I now want it with every single meal. It's going to take a lot of restraint to not just eat this instead of vegetables!

I'd never considered making a yeasted paleo flatbread before, partly because yeast can be time-consuming and partly because I had heard that gluten-free doughs don't rise as well. And while that may be true, I was pretty excited about how well this dough rose (see the photos near the end of the post for evidence). Also, since this bread just needs one quick, 45-minute rise, it's not totally insane to make on a weeknight.

Paleo Flatbread | acalculatedwhisk.com

I got the idea for this bread when I saw Heather's perfect paleo flatbread recipe on Cook It Up Paleo. Her recipe calls for yeast, but doesn't have you wait for the dough to rise. I couldn't try her recipe as-is because it calls for coconut flour (I'm allergic to coconut), so I decided to play around with it a bit.

Yum

Friday, November 21, 2014

Cranberry Orange Bread


My family doesn't have a well-defined set of Thanksgiving traditions.  Growing up with divorced parents, I often divided my time between two Thanksgiving dinners, having the main meal at one house and dessert at another.  Things always felt briefly desolate as I was shuttled between the two under the cover of early nightfall, but a slice of pie (or three) put an end to that pretty fast.  And I wouldn't have wanted to miss out on spending time with either of my families.  

My mom and I usually had dinner at a friends' house, and didn't have to do much of the cooking.  (I don't think either of us has ever roasted a whole turkey, unless she did a bunch of turkey-roasting before I was born and neglected to tell me about it.)

Yum

Thursday, July 11, 2013

Fresh Bread with Homemade Ricotta & Herbs


Ever since my successful experience using yeast to make garlic naan, I've been wanting to try my hand at a loaf of bread.  When I saw this recipe for a three-hour, one-bowl loaf of bread on Blueberry Kitchen, I decided to give it a go.

I've also been eager to try making homemade ricotta.  It turns out that it's really easy.  The bread isn't hard, either, but this ricotta is truly simple.  Heat the cream and milk, stir in the vinegar, wait a minute, then strain.  The hardest part was getting my hands on some cheesecloth.

You should make both these things because the homemade versions are much tastier than store bought, and because they both provide great opportunities to witness some everyday kitchen magic.  I don't know about you, but I'm going to be impressed that my bread dough has doubled in size, even though the recipe said it would.  Yeast is a great magician.  Vinegar performs a similarly impressive feat when it makes cheese curds suddenly appear in a saucepan of hot milk and cream.  These recipes are just so much fun!  Your own magic show, with delicious results.


Ingredients for the bread (recipe from Blueberry Kitchen, adapted from BBC Food; makes one small loaf):

1 teaspoon active dry yeast
1 teaspoon sugar
3/4 cup warm water
2 cups flour (I used all purpose, but you can use bread flour if you have it), plus extra
1 teaspoon sea salt
1 tablespoon melted butter
Oil for greasing

In a large bowl, combine the yeast, sugar, and warm water.  Let sit for about ten minutes until foamy.
Add the flour, salt, and butter and stir just until combined.  The dough will look a little shaggy.


Turn the dough out onto a clean, lightly floured surface.  Knead for five minutes, adding a little more flour as necessary to keep the dough from sticking.  Rinse out your bowl and grease it lightly.  Form the dough into a ball and place it in the bowl.  Cover with a kitchen towel and let rise for an hour.  The dough should double in size.


Prepare a lightly greased baking sheet.  After an hour, knead the dough gently to remove excess air, and form into a rounded loaf shape.  Place the loaf on the baking sheet, cover with a towel, and let rise for another hour.


Preheat the oven to 425.  Place an empty roasting tin on the bottom rack of the oven.  Lightly flour the outside of the dough, pressing in a little with your finger.  Use a sharp knife to score the dough in a few places, cutting about half an inch deep.


Place the baking sheet with the bread in the oven, and pour a little cold water into the roasting tin.  This will create steam that helps the bread develop a crispy crust.

Bake the bread for about 25 minutes, until it's golden and sounds hollow when you tap the bottom.  Cool on a wire rack.  Store wrapped at room temperature for up to a week.


Ingredients for the ricotta (adapted from Ina Garten; makes about 3/4 cup):

2 cups whole milk
1/2 cup heavy cream
Scant 1/2 teaspoon sea salt
1 tablespoon plus 1 scant teaspoon white wine vinegar

To make the ricotta, combine the milk, cream, and salt in a medium saucepan.  Bring to a boil over medium heat, stirring occasionally.

Meanwhile, line a sieve with two layers of dampened cheesecloth and place it over a large bowl.

Once the milk mixture has come to a rolling boil, remove from the heat and stir in the vinegar.  Let the mixture sit for a minute or so to curdle.  Slowly pour the mixture through the cheesecloth lined sieve, and let it drain for 20-25 minutes.  Draining for longer will give you a firmer, less moist ricotta.  Discard the whey and cheesecloth, and store the ricotta in the fridge, covered, for up to five days.


Ingredients for the herbed ricotta:

3/4 cup ricotta
1 scallion, thinly sliced
Small handful of fresh basil, julienned
Small sprig of parsley, finely chopped
Salt and fresh ground pepper to taste

Mix together and season to taste.  Serve with fresh bread.


Yum

Thursday, June 27, 2013

Garlic Naan


Homemade naan is SO delicious, and it's not hard to make.  I think this naan is even better than what I get at my favorite Indian restaurant--it's an irresistible accompaniment to almost anything.  Kneading and rolling the dough is actually really fun; it only needs to rise for 45 minutes, so it's a totally viable weeknight dinner option.  Plus, you won't even have to turn on your oven!

Garlic naan is my favorite, but if you prefer plain naan, you can just omit the garlic and cilantro.  It will still be amazing.  I was all excited to use cilantro, but found that my bunch had totally frozen in the fridge and looked really sad.  I guess my fridge is too cold!


Ingredients (adapted from Budget Bytes; makes 8 pieces):

2 teaspoons active dry yeast
1 teaspoon sugar
1/2 cup warm water
1/4 cup olive oil (or vegetable oil)
1/3 cup plain greek yogurt (I used 2%)
1 teaspoon garlic paste (optional)
1 egg
1/2 teaspoon salt
2 1/2-3 cups flour, divided, plus extra
10 or so cloves of garlic, minced
1/3 cup fresh cilantro, chopped (optional)
Butter or ghee for cooking and serving

In a small bowl, mix the yeast, sugar, and warm water until the yeast dissolves.  Let the mixture sit for a few minutes until it foams up.  Stir in the oil, yogurt, garlic paste, and egg.

In a medium bowl, mix the salt with one cup of the flour.  Add the wet ingredients and stir until well mixed.  Add more flour 1/2 cup at a time, stirring well after each addition, until you can no longer stir the dough with a spoon.

Turn the dough out onto a well-floured surface.  Start kneading the dough, adding flour as needed to keep it from sticking.  Knead for about three minutes, until the dough is soft and smooth but not sticky.

Let the dough rest, lightly covered with a kitchen towel, for about 45 minutes or until doubled in size.

Flatten the dough a little, and cut it into eight wedges.  Pick up each wedge and stretch the dough from the top around to the bottom a few times to create a ball.

Heat a little butter or ghee in a cast iron skillet over medium heat.

Dip each side of the dough ball in the minced garlic and cilantro, then roll it out until it's about six inches in diameter.

Place the naan in the hot skillet, and cook on the first side until large bubbles appear on the surface and the bottom is golden brown.  Flip the naan and cook until golden on the other side.

Serve topped with a little more butter or ghee and accompanied by your favorite curry.


Yum